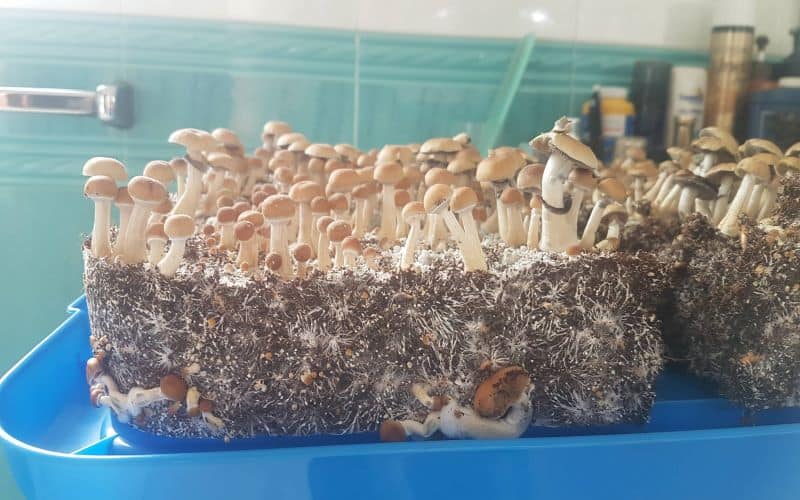
Having the perfect substrate recipe for mushroom growth and development is very important for growing mushrooms. Coco coir substrate recipe is one of the most popular options for growing mushrooms due to its high water retention capacity, airy porosity and nutrient content. In this article, we will discuss the necessary materials and steps to create the perfect coconut coir substrate recipe and provide some tips for troubleshooting potential problems.
Introduction to Coco Coir Substrate Recipe
Coco coir is a byproduct of coconut processing and is an organic material that is used in various applications, including gardening and mushroom cultivation. Coco coir is an excellent substrate for mushroom growth because it is pH neutral and has a high water retention capacity. Coco coir substrate is also environmentally friendly and sustainable, making it an excellent choice for mushroom growers.
Why Coco Coir Substrate is the Best Choice for Mushroom Cultivation

There are many reasons why coco coir substrate is the best choice for mushroom cultivation. Coco coir is a sterile medium that is free of contaminants, which is essential for the growth and development of mushroom mycelium. Coco coir substrate is also easy to prepare, and it has a high water retention capacity, which reduces the need for frequent watering.
Another reason why coco coir substrate is the best choice for mushroom cultivation is that it is environmentally friendly and sustainable. Coco coir is a waste product of coconut processing, and using it as a substrate for mushroom growth helps to reduce waste and promote sustainability.
This material is so good that you can skip the other ingredients on this list and make a substrate out of 100% coconut coir. However, I still recommend using the other ingredients, as you will soon find out why.
The Importance of a Perfect Coco Coir Substrate Recipe
A perfect coco coir substrate recipe is essential for the growth and development of mushrooms. A well-prepared substrate recipe provides the necessary nutrients and moisture for mushroom mycelium to grow and colonize. The substrate should also be free of contaminants and evenly mixed to ensure uniform growth and development of the mushrooms.
Ingredients:
Soy hulls
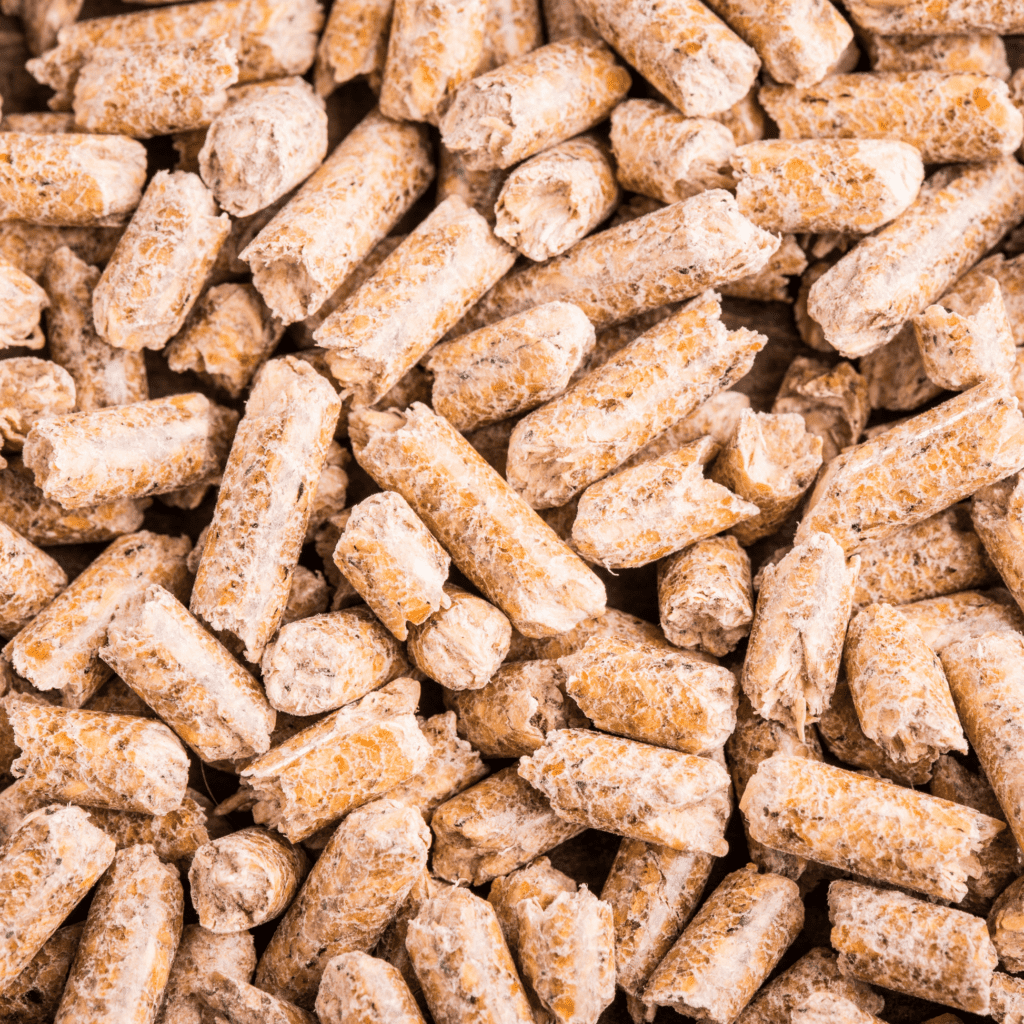
Soy hulls mixed with sawdust has the right nutritional composition for rapid fruiting, huge harvests and good large fruits. It also seems that it forms large and dense clusters with endless folds of oyster mushrooms that just scream at each other, trying to escape from the packaging.
Hardwood sawdust
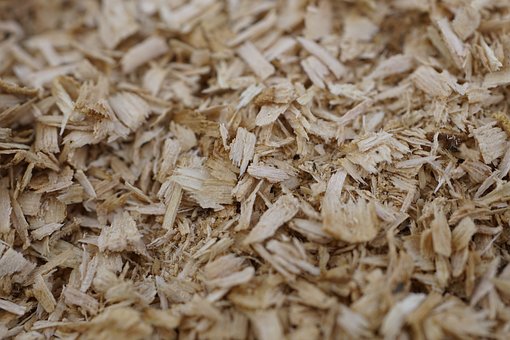
The main recipe that we used to grow all of our delicious mushrooms uses sawdust pellets. Wood pellets are used because they are readily available at local retail stores or online, and they are easy to store.
Gypsum
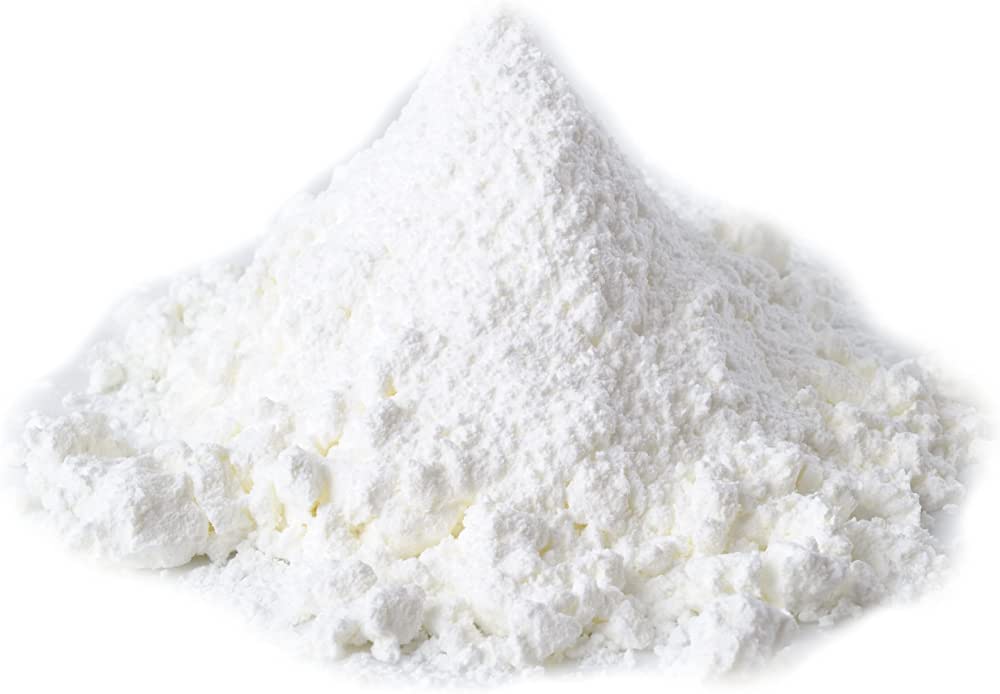
Gypsum – also known as calcium sulfate – is a common material used in drywall. In fact, if you have old drywall lying around somewhere, you can crumble it up and use it instead of gypsum.
Gypsum not only adds minerals that the mycelium feeds on, it also acts as a PH stabilizer, adding calcium carbonate (alkaline) and sulfur (acidic) to the substrate!
This is a very optional ingredient, as you can easily succeed without it.
However, if you have the option, add it!
Necessary Materials for a Coco Coir Substrate Recipe
To make a perfect coco coir substrate recipe, you will need the following materials:
- 1 Brick of Coco coir (650 grams) (this or this)
- 16 cups of boiling water (4 liters or 135 oz)
- 300 grams of Hardwood sawdust
- 450 grams of Soy hulls
- 1 cup of Gypsum
- A large container or mixing bowl
- A measuring cup
- A mixing tool (such as a shovel or pitchfork)
Step-by-step Guide on Making a Coco Coir Substrate Recipe
- Boil water in a large pot or kettle.
- Add the coco coir to a large container or mixing bowl.
- Pour the boiling water over the coco coir and let it sit for 30 minutes to an hour.
- While waiting for the coco coir to hydrate, mix the hardwood sawdust and soy hulls in a separate container.
- After the coco coir has hydrated, add the sawdust and soy hulls mixture to the container.
- Mix the substrate ingredients thoroughly using a mixing tool.
- Add gypsum to the substrate mixture and mix well.
- Let the substrate cool to room temperature before adding the mushroom grain spawn.
Tips on Preparing Bulk Mushroom Substrate
When preparing bulk mushroom substrate, it is essential to use sterile equipment and a clean working environment to prevent contamination. Sterilize all equipment and surfaces with a 10% bleach solution or another disinfectant before use. Use a large container or mixing bowl to prepare the substrate, and mix the ingredients thoroughly to ensure even distribution of nutrients and moisture.
Casing Layer Preparation and Application
After the substrate has been prepared and cooled to room temperature, it is time to apply the casing layer. A casing layer is a layer of soil or other material that is added to the top of the substrate to promote healthy mushroom growth. To prepare the casing layer, mix peat moss, vermiculite, and limestone in a container, and add enough water to hydrate the mixture. Apply the casing layer to the substrate, making sure it is evenly distributed.
Inoculation with Mushroom Grain Spawn
After the casing layer has been added, it is time to inoculate the substrate with mushroom grain spawn. Mushroom grain spawn is a mixture of mushroom spores and a substrate that has been colonized by mushroom mycelium. Use a sterilized syringe to inject the mushroom grain spawn into the substrate, making sure the spawn is evenly distributed.
Incubation and Colonization Process
After inoculation, the substrate should be placed in a warm and humid environment to promote colonization. The ideal temperature for mushroom mycelium growth is between 70 and 80 degrees Fahrenheit. The incubation and colonization process can take up to two weeks or longer, depending on the species of mushroom.
Fruiting and Mushroom Growth
After the substrate has been colonized, it is time for fruiting and mushroom growth. Place the substrate in a fruiting chamber with high humidity and good air circulation to promote mushroom growth. The fruiting process can take up to two weeks or longer, depending on the species of mushroom.
Common Mushroom Species Grown with Coco Coir Substrate
There are many mushroom species that can be grown with coco coir substrate, including oyster mushrooms, shiitake mushrooms, and lion’s mane mushrooms. Coco coir substrate provides the necessary nutrients and moisture for these mushrooms to grow and develop.
Troubleshooting Coco Coir Substrate Recipe Issues
If you encounter issues with your coco coir substrate recipe, such as contamination or uneven growth, there are several troubleshooting steps you can take. Check your equipment and working environment for cleanliness, and make sure all materials are evenly mixed. You can also adjust the moisture content of the substrate by adding more water or adjusting the casing layer.
Best Practices for Coco Coir Substrate Recipe
To ensure the best results with your coco coir substrate recipe, follow these best practices:
- Use sterile equipment and a clean working environment.
- Mix all materials thoroughly to ensure even distribution of nutrients and moisture.
- Adjust the moisture content of the substrate as needed.
- Use a casing layer to promote healthy mushroom growth.
Conclusion
In conclusion, a perfect coco coir substrate recipe is essential for the growth and development of mushrooms. Coco coir substrate is an excellent choice for mushroom cultivation due to its high water retention, air porosity, and nutrient content. Follow the steps outlined in this article, and you will be on your way to growing gourmet mushrooms with a perfect coco coir substrate recipe.
I also invite you to visit my blog where you can find many delicious and simple recipes for parties with friends or family dinners!